从一个简单的 Hello World 开始
借鉴自yjhjstz的 deep-into-node这篇文章
创建一个 Node 服务器
新建一个空项目文件夹,然后创建一个 demo.js 文件
1
2
3
4
5
6
7
8
9
10
11
12
13
14
15
16
17
18
| const http = require("http");
const host = "localhost";
const port = 12580;
http
.createServer((req, res) => {
res.writeHead(200, {
"Content-Type": "application/json"
});
res.end(
JSON.stringify({
Hello: "xiaoke"
})
);
})
.listen(port, host, () => {
console.log(`我要开始监听啦! 在 ${host}:${port}`);
});
|
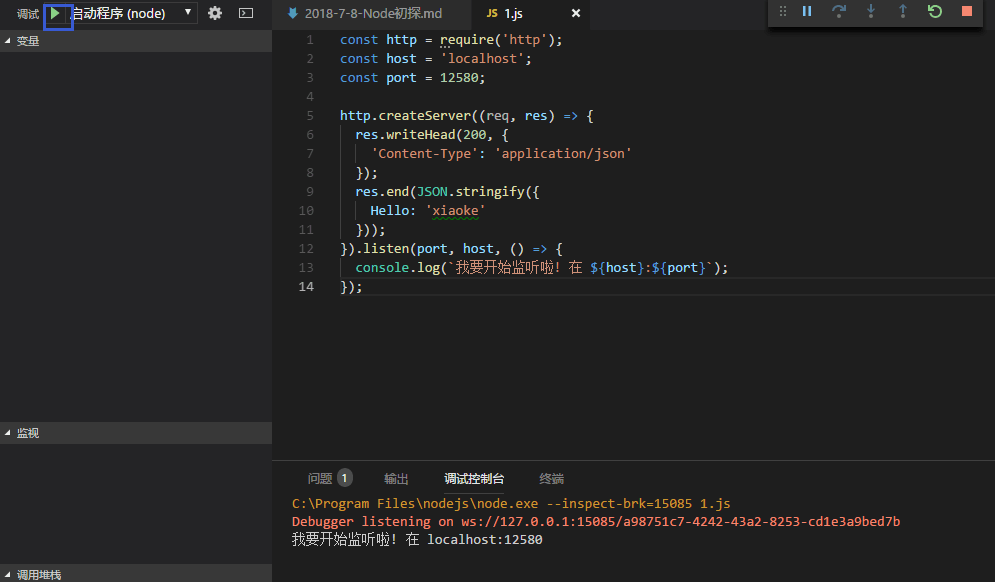
在Visual Studio Code中侧边栏选择调试,配置选择 Node.js 环境

这时候会弹出配置文件,或者手动对该目录下.vscode文件夹下的launch.json文件进行配置
1
2
3
4
5
6
7
8
9
10
11
12
13
14
15
16
17
18
19
20
| {
"version": "0.2.0",
"configurations": [
{
"type": "node",
"request": "launch",
"name": "Launch Program",
"program": "${workspaceFolder}/app.js"
},
{
"type": "node",
"request": "launch",
"name": "启动程序",
"program": "${workspaceFolder}/demo.js"
}
]
}
|
先Shift+~调出调试控制台,然后点击调试按钮,就可以成功看到成功启动服务器啦
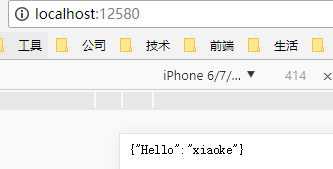
然后在浏览器中访问该路径,即发送一个 GET 请求,就可以看到返回结果啦
代码分析
我们再对这段代码作些分析,首先第一句const http = require("http");就是引入 Node 的 http 模块
require()是 CommonJS 模块规范下的导入,导出的写法是module.exports
除了http模块,Node 还有fs文件模块等